Checklist
- Undo Bad Choices
- Create a Cloudflare Tunnel
- Install the Tunnel Connector on Your Raspberry Pi
- Create the Tunnel Hostname
- Confirm That Your Tunnel Is Connected
- Confirm That Your DNS Record Is Proxied
- Confirm That Your Website Is Loading on Your Domain
Undo Bad Choices
If you didn't go through the "bad way" of self-hosting, which involves opening up a port on your router/firewall, you can skip to the next step.
If you did go through the bad way of self-hosting, you need to close the open port on your router/firewall before you forget and leave a door wide open to your network.
Go ahead, I'll wait.
...
...
Is the port closed now? Are you absolutely sure? Ok, let's continue.
Create a Cloudflare Tunnel
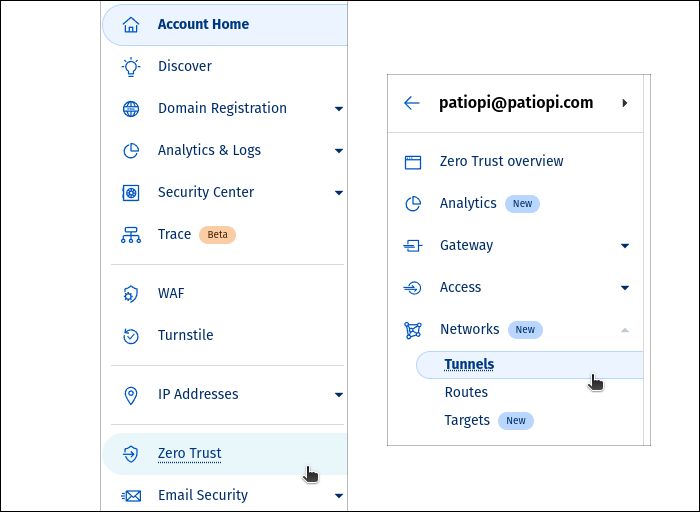
After logging into your Cloudflare account, click on Account Home in the top left-hand corner of the Cloudflare dashboard, and then click on Zero Trust in the left-hand menu. If this is the first time you've ever accessed the Zero Trust section of Cloudflare, you may be asked to set an account username.
On the new Zero Trust page that opens, click on Networks in the left-hand menu, and then click on Tunnels.
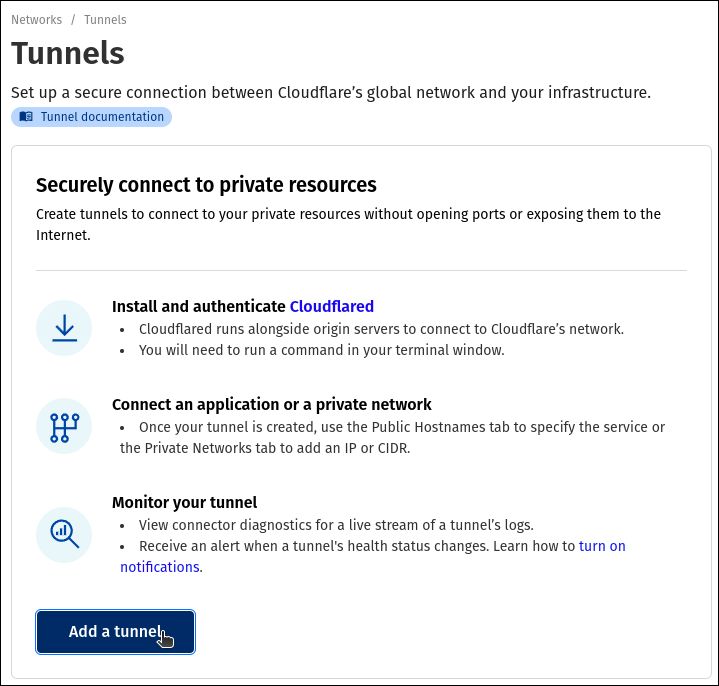
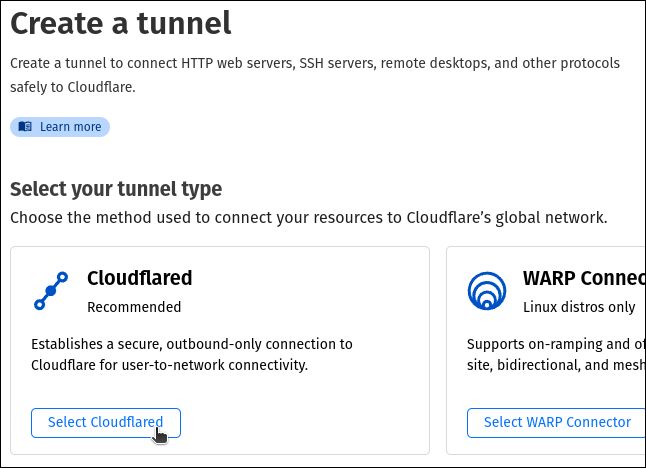
Click the Add a tunnel button, then when asked to select a tunnel type, selet Cloudflared.
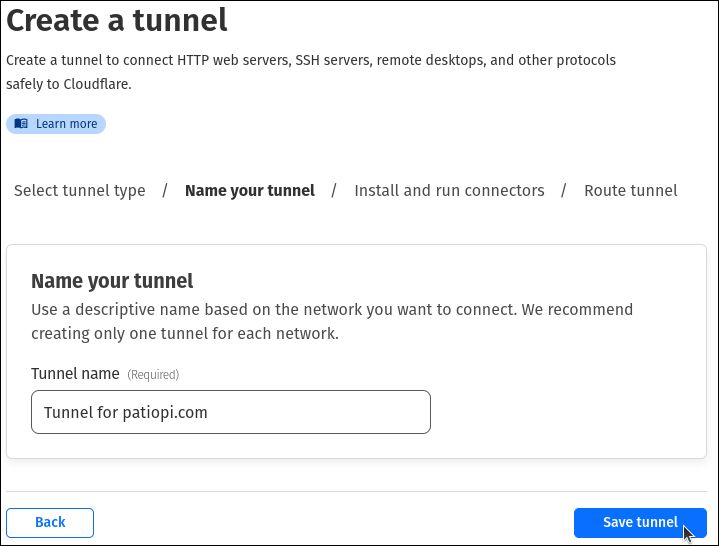
Enter the name of your tunnel, and then click Save tunnel.
Install the Tunnel Connector on Your Raspberry Pi
Now it's time to install the Tunnel Connector on your Raspberry Pi so that it can communicate with Cloudflare. This is the magic that makes it so you don't have to open any ports on your router/firewall.
NOTE: Although Cloudflare tries to make it nice and easy to copy & paste all 3 of the commands you need to run in order to install the Tunnel Connector, we're going to run them separately for clarity, and also because we need to edit one of the commands.
First, click the Debian button, and then click the Copy button to copy the 3 commands from Cloudflare. There's no need to select the architecture, as we'll be changing that in a moment anyways.
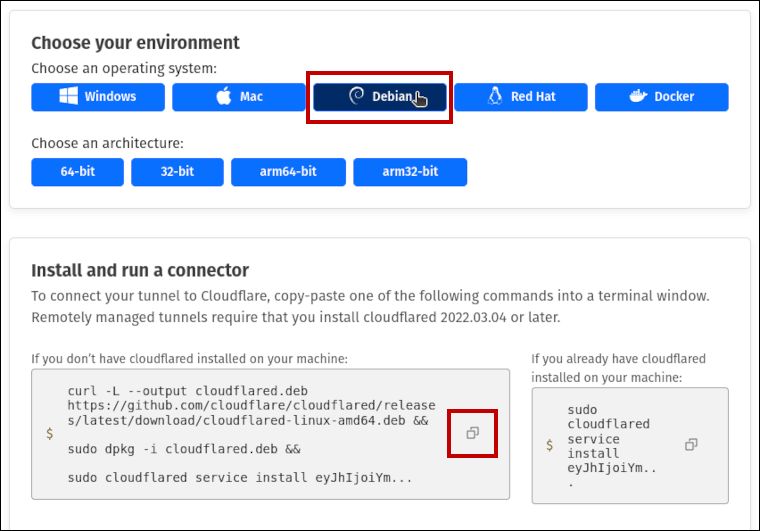
What I recommend now is to open a text editor on your computer, and then paste the Cloudflare commands into it. This way we can edit the first command before running it. Once pasted into a text editor, you should have something that looks like this:
curl -L --output cloudflared.deb https://github.com/cloudflare/cloudflared/releases/latest/download/cloudflared-linux-amd64.deb &&
sudo dpkg -i cloudflared.deb &&
sudo cloudflared service install notRealx1MQQ5dvWo8Clgcd6ooCOQ5F3pAdZOI03VE9BLXe6StoGEBVIvGrvuTJ0uwggAWJjIyJY9piLLN4jWOjRf9YbUj0chRKvEuSolvWELO6wF4epZpXXATG8srLAplxmFDTRNJ1YXJJZkn2OeVhSRrplut6si1kxbJG4jwovUkMbtnotReal
The part we need to change is the end of the first command. We need to change cloudflared-linux-amd64.deb to cloudflared-linux-armhf.deb. So, the first command would now look like this:
curl -L --output cloudflared.deb https://github.com/cloudflare/cloudflared/releases/latest/download/cloudflared-linux-armhf.deb
The reason we need to do this is because we need the armhf version of the Cloudflare Tunnel Connector, but that isn't one of the default options.
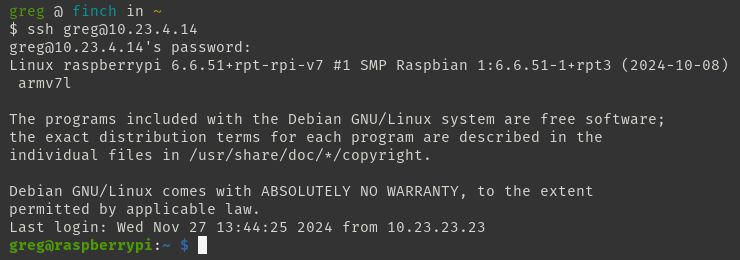
Ok, it's almost time to run the Cloudflare Tunnel installation commands on your Raspberry Pi, but first we need to SSH into the Pi like we did earlier in the guide. Alternatively, if you still have your previous connection open in a terminal, switch to it now.
If everything works properly, you should see something similar to the below screenshot. Remember, for security reasons, you won't see your password as you type it.
Ok, it's time to run the first command now. Copy the first command from your text editor and paste it into the terminal window that's connected to your Raspberry Pi.
This command downloads the newest release of the Cloudflare Tunnel Connector and saves it to the file cloudflared.deb.
curl -L --output cloudflared.deb https://github.com/cloudflare/cloudflared/releases/latest/download/cloudflared-linux-armhf.deb

The next command installs the newly-downloaded Cloudflare Tunnel Connector.
sudo dpkg -i cloudflared.deb
And finally, the last command installs the Cloudflare Tunnel Connector as a service, as well as authenticates you with Cloudflare.
sudo cloudflared service install notRealx1MQQ5dvWo8Clgcd6ooCOQ5F3pAdZOI03VE9BLXe6StoGEBVIvGrvuTJ0uwggAWJjIyJY9piLLN4jWOjRf9YbUj0chRKvEuSolvWELO6wF4epZpXXATG8srLAplxmFDTRNJ1YXJJZkn2OeVhSRrplut6si1kxbJG4jwovUkMbtnotReal
If the Cloudflare Tunnel Connector installed successfully, you should see a message like the one below. Click the Next button and your tunnel will be created.
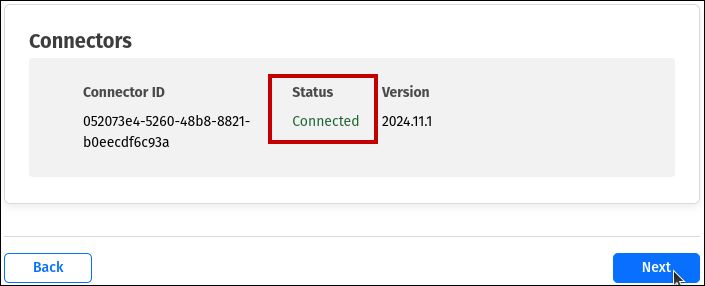
Excellent, the Cloudflare Tunnel to your Raspberry Pi is now live!
Although we technically have a live tunnel setup, we still need to create at least one tunnel hostname so that Cloudflare knows where to direct traffic coming from the Internet.
Create the Tunnel Hostname
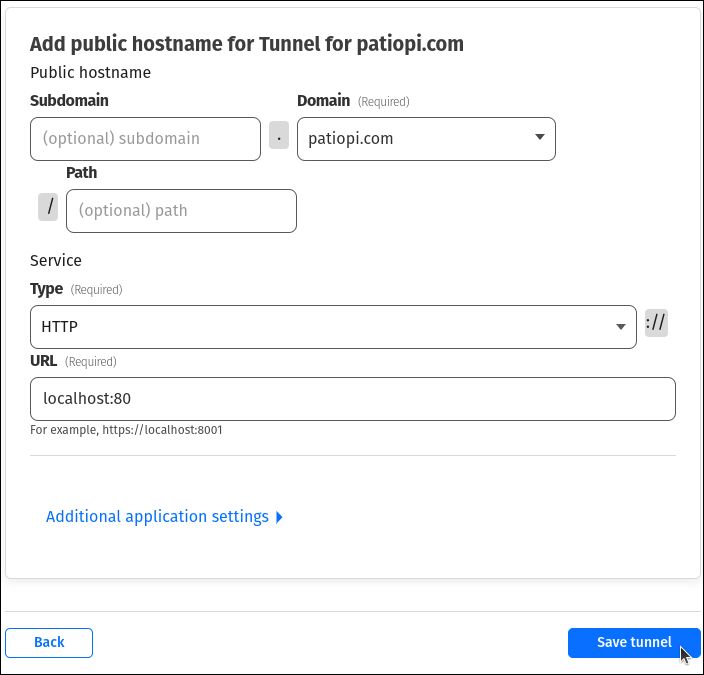
After creating the tunnel above you should be redirected to your Public Hostnames page.
For the Public Hostname -> Domain field, select the domain you're self-hosting.
For the Service -> Type field, select HTTP.
And lastly, for the Service -> URL field, enter localhost:80, and then click Save tunnel.
Confirm That Your Tunnel Is Connected
After creating the public hostname, you'll be sent to your main Tunnels page. Here you can confirm that the Tunnel is up-and-running.
Confirm That Your DNS Record Is Proxied
Ok, everything should be fully setup now! In order to confirm, we're going to give our DNS records a quick check to make sure that the public hostname we just created is successfully being proxied through Cloudflare.
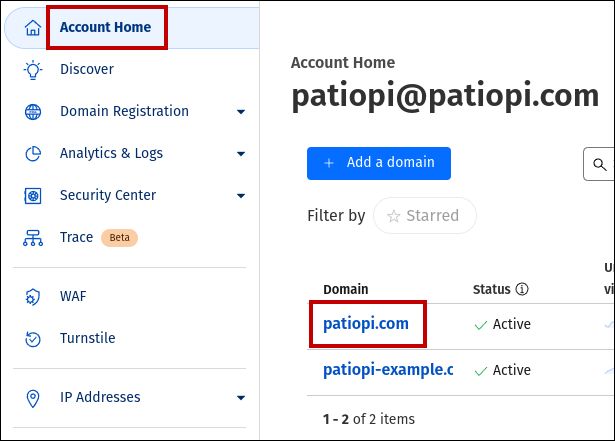
Click Account Home in the top-left corner of the Cloudflare dashboard, and then click the domain in the main part of the screen.
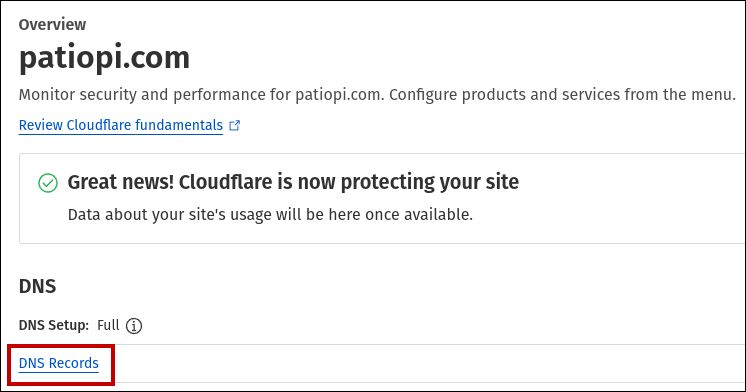
Once the new page loads, click on DNS Records.
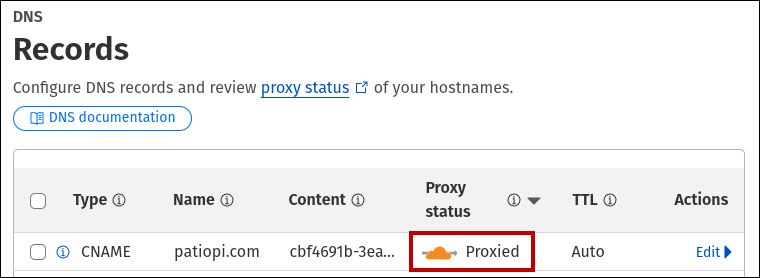
We should now see a list of our DNS records. The one we're interested in is a CNAME record with the name of the public hostname we created earlier. It should have an orange cloud next to it, indicating that it's being proxied through Cloudflare.
Confirm That Your Website Is Loading on Your Domain
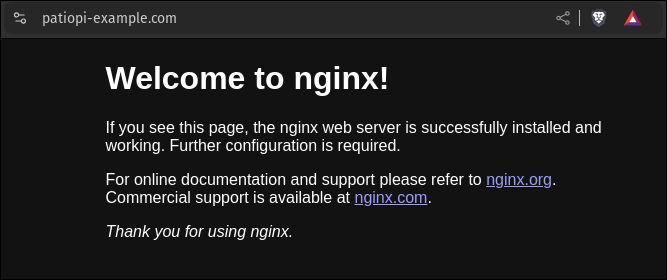
The final step in this guide is to confirm that our website is loading on our domain. Open a web browser and navigate to the public hostname we created earlier. If everything is setup correctly, we should see the default nginx welcome page.
