Checklist
- Signup for a Cloudflare Account
- Add Existing DNS Records
- Update Your Domain's Nameservers
- Confirm That Your Domain’s Active
Signup for a Cloudflare Account
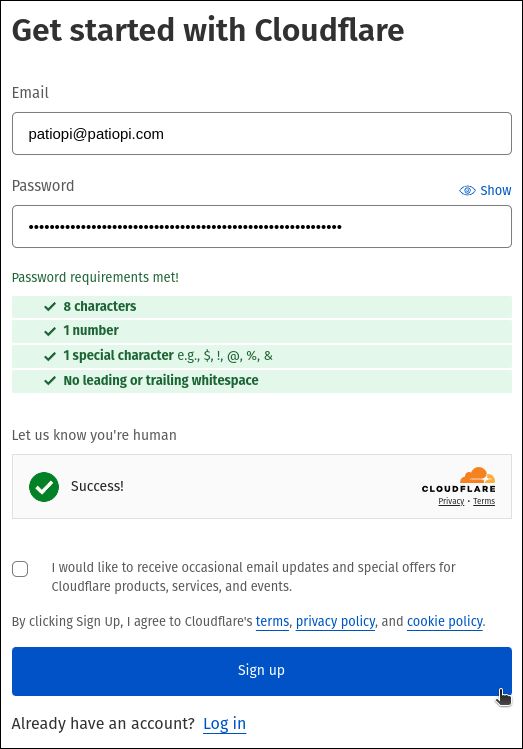
If you don't already have a Cloudflare account, head on over to their signup page, enter your details and solve the captcha, then click Sign up.
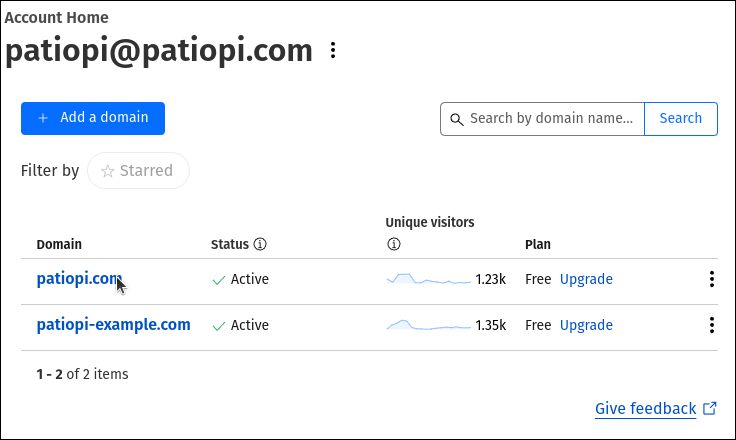
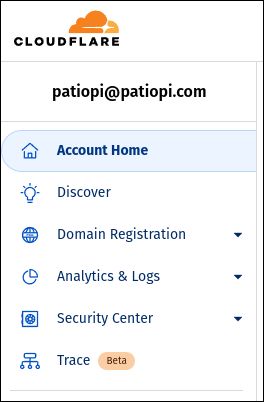
If you just finished registering a domain with Cloudflare, you won't be prompted to enter a domain, as the domain will already be on your Cloudflare account. To confirm, click on Account Home in the top left-hand corner of the Cloudflare dashboard and check the list of domains that's displayed.
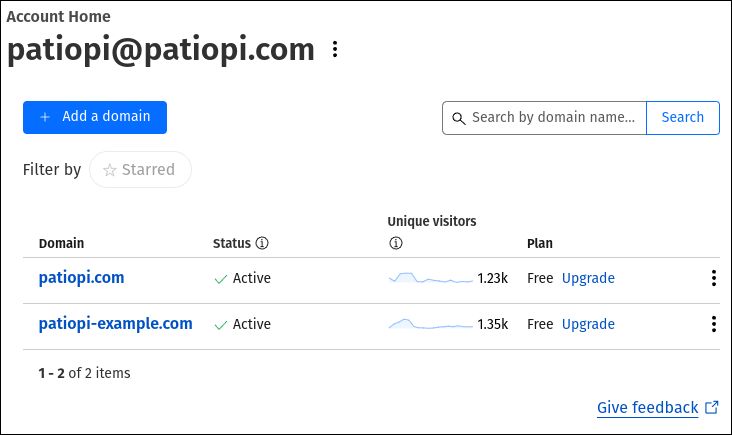
If you already see your domain on the above list, you can skip to the final step in the guide.
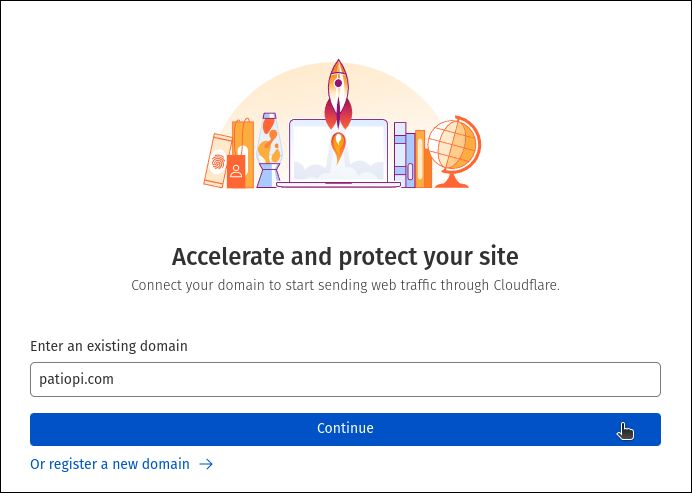
If you didn't just finish registering the domain with Cloudflare, you'll be prompted to enter your domain name. Enter the domain you plan to self-host and click Continue.
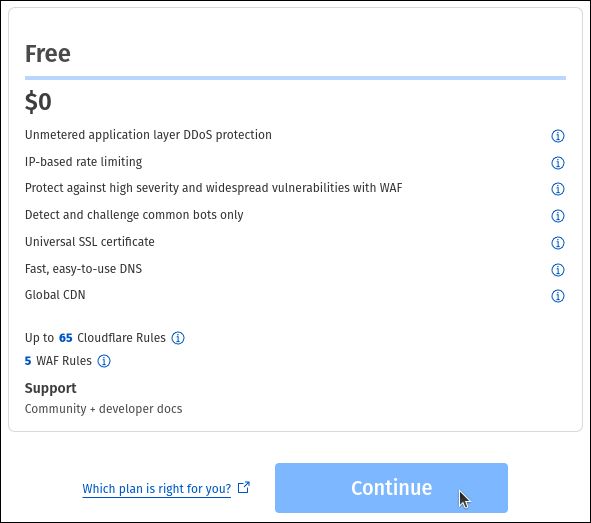
When prompted for a plan for your domain, select the Free plan and click Continue.
You're of course welcome to use any of the other plan types if your future needs require them, but for what we're setting up today the free plan is more than enough.
Add Existing DNS Records
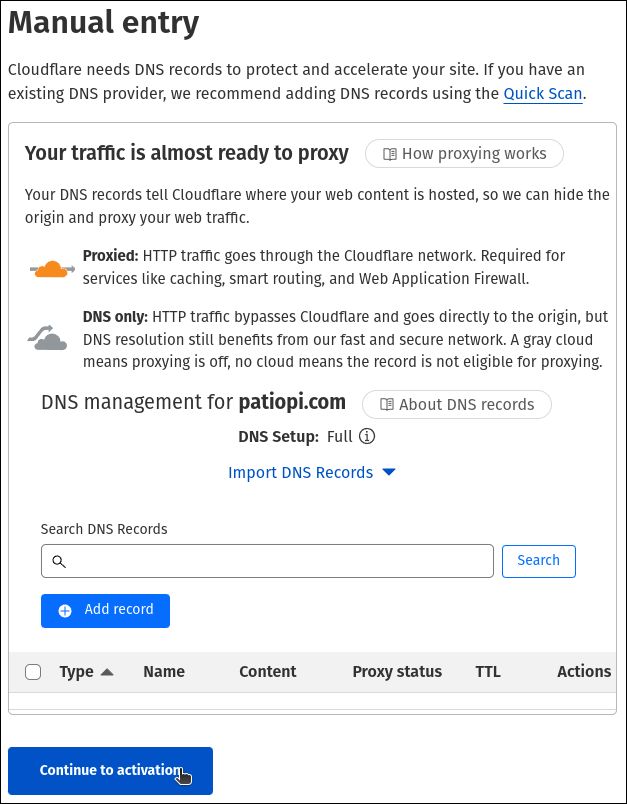
If you already have live DNS records setup for the domain that you plan to self-host, you should re-create them now in the Cloudflare DNS interface. This will make it so that when you point your domain at the nameservers that Cloudflare is going to supply to you in a couple steps, all of your existing DNS records will remain online.
If your domain was registered with Cloudflare and you're already using their nameservers, your DNS records will already be in place and you can click Continue to activation and then skip to the next step in the guide.
If this is a brand new domain and you've never set anything up for it, you can click Continue to activation and then skip to the next step in the guide.
NOTE: Do not create any DNS records for your new self-hosted Raspberry Pi yet, that's going to happen automatically in future steps. For now you just need to re-create any existing live DNS records that you currently have setup for your domain.
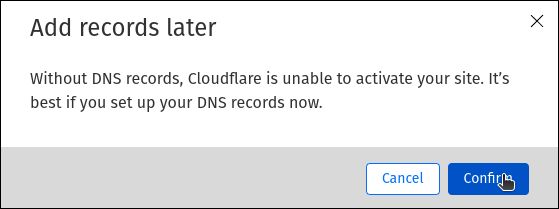
If you continue without creating any DNS records, you'll be presented with a confirmation screen. Click Confirm to proceed.
Update Your Domain's Nameservers
The last step to getting your domain's DNS setup with Cloudflare is to point your domain at the nameservers that Cloudflare gave you. In this case we were given marty.ns.cloudflare.com and ullis.ns.cloudflare.com.
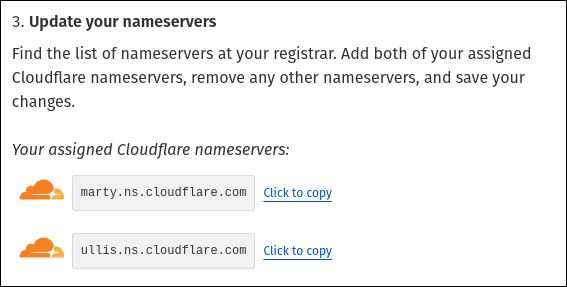
Next, you'll need to log in to your domain registrar and update the nameservers for your domain to the ones that Cloudflare provided you. If you registered your domain with Cloudflare, this should already be taken care of.
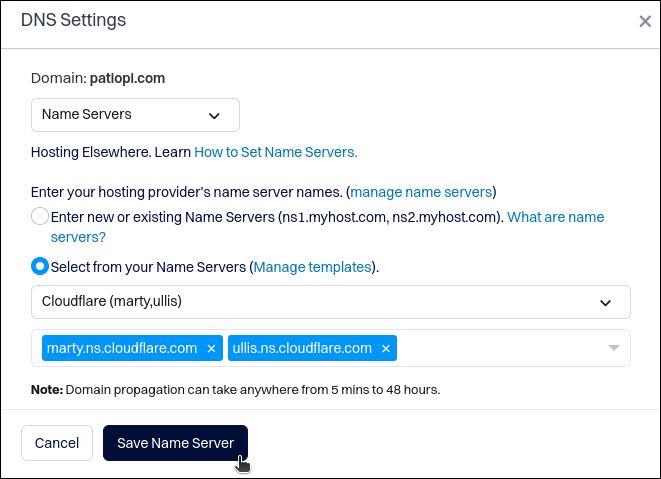
After updating your domain's nameservers, you can go back to Cloudflare and click Check nameservers now. It can take a little bit of time for the DNS changes to propagate across the Internet, so don't worry if your domain isn't active right away.
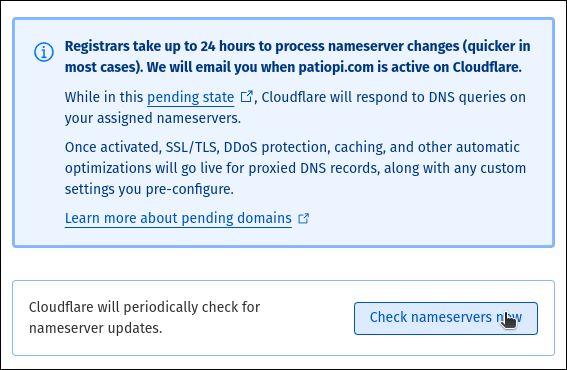

Confirm That Your Domain’s Active
Once your nameserver update has propagated, when you check your domain on your Cloudflare account you should see a notice that it's now active. Click on Account Home in the top left-hand corner of the Cloudflare dashboard, then click on your domain. The status should be displayed near the top of the page.

