Checklist
- Download & Install the Raspberry Pi Imager Software
- Configure the Raspberry Pi Imager Software
- Write the Operating System to Your microSD Card
Download & Install the Raspberry Pi Imager Software
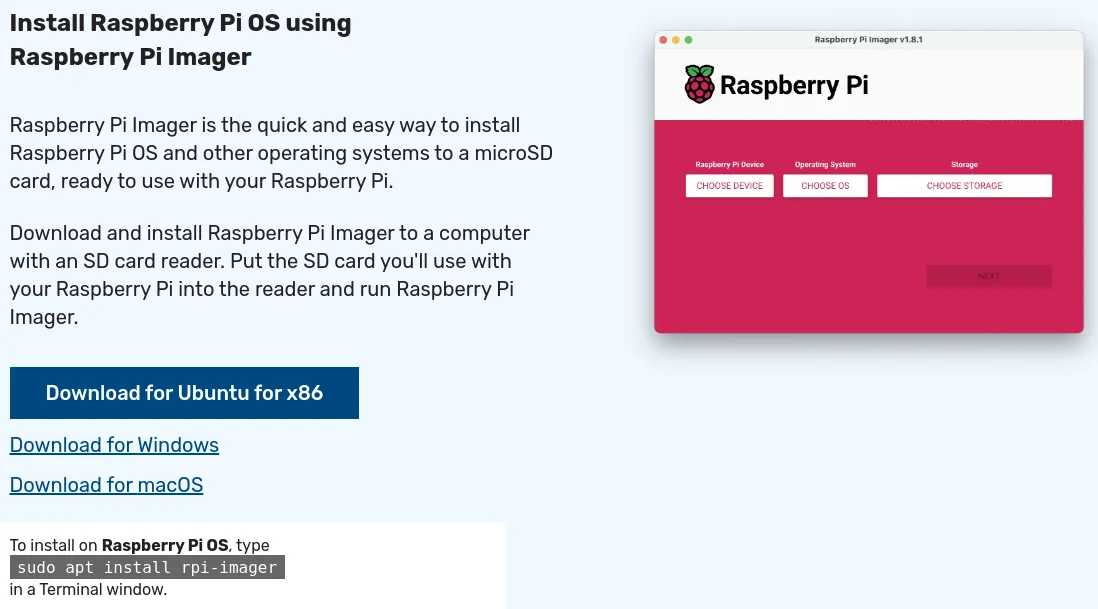
If you don't have the Raspberry Pi Imager software installed, you can download it from the Raspberry Pi website. If you're running Linux, you can probably install it from your package manager.
Configure the Raspberry Pi Imager Software
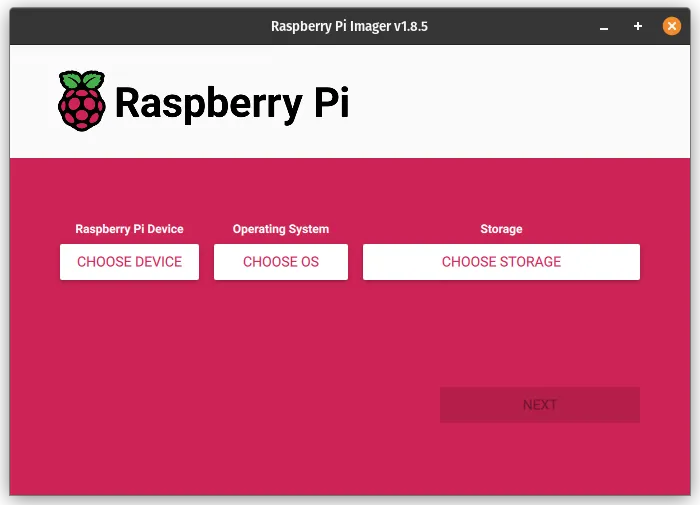
Once installed, open the Raspberry Pi Imager software.
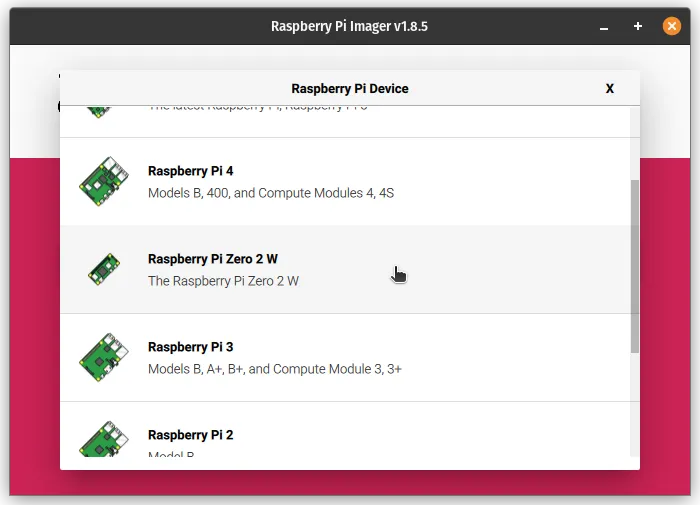
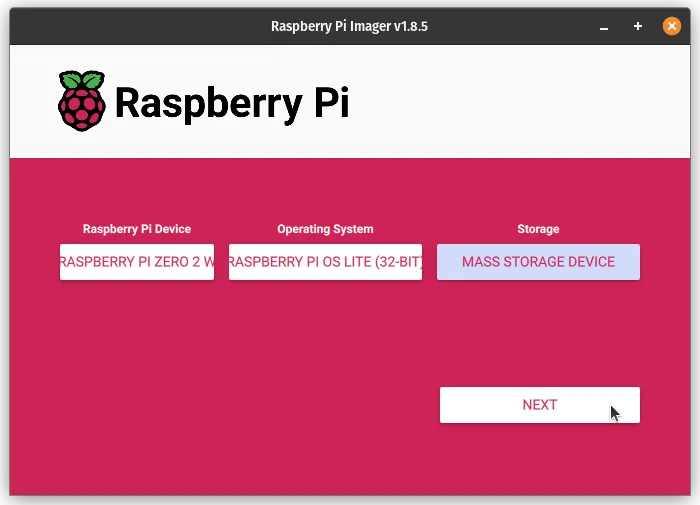
Click on Choose Device and then select the Raspberry Pi you want to install the operating system on.
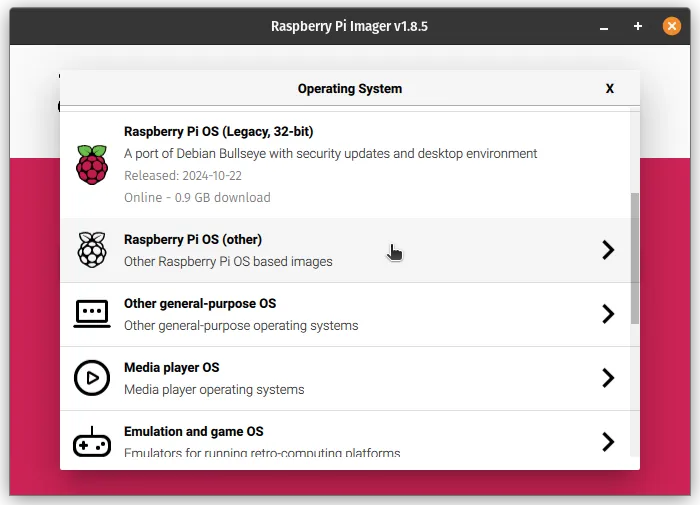
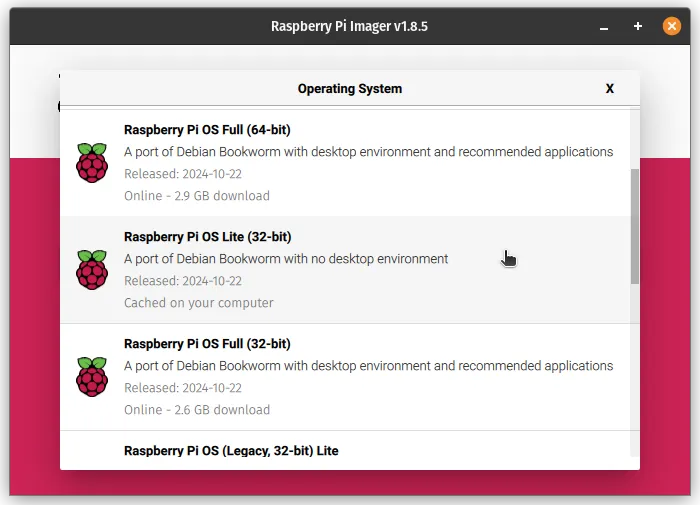
Click on Choose OS and then select the operating system you want to install on your Raspberry Pi. If you're using a Raspberry Pi Zero, you should select the 32-bit version of Rasperry Pi OS Lite.
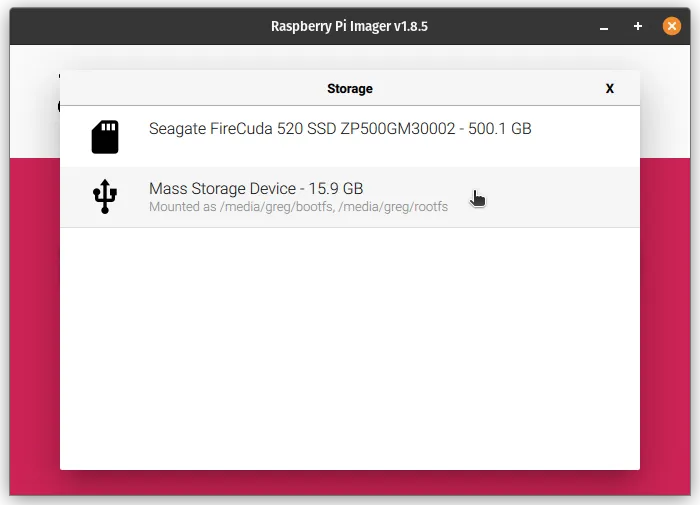
Click on Choose Storage and then select the microSD card that you want to install the operating system on.
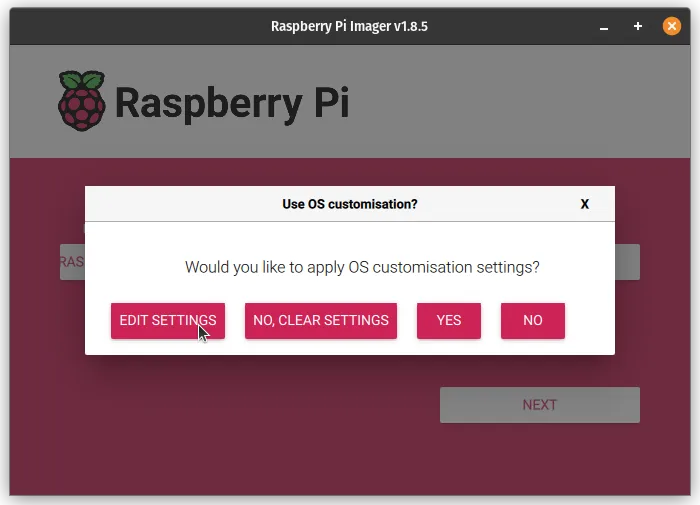
Click Next and then Edit Settings to change the settings for the operating system you're installing.
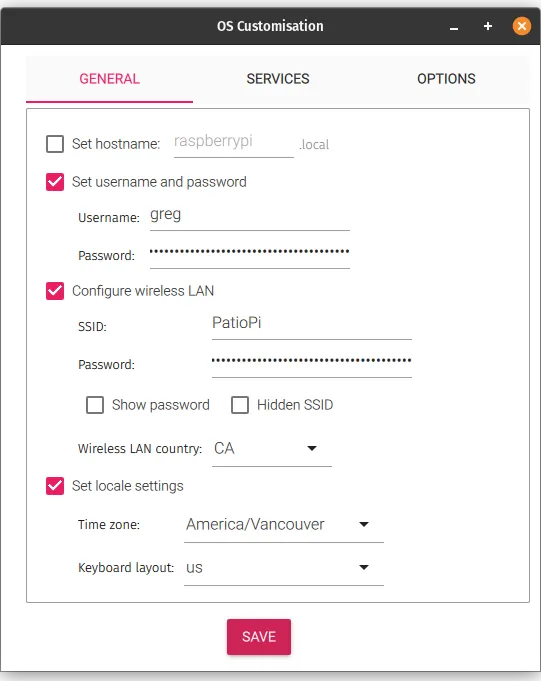
On the General tab, you should enter the username and password of a non-root user that you want created during the installation process. You should also configure your Wi-Fi settings so that your Raspberry Pi can connect to the internet.
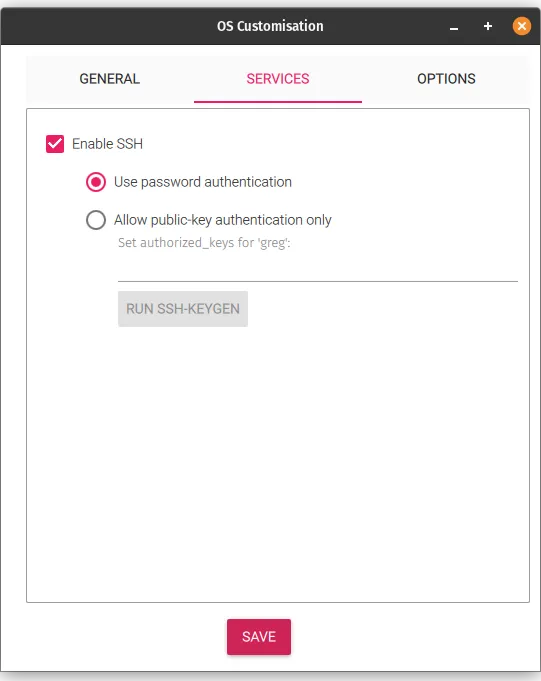
On the Services tab, you should enable SSH so that you can connect to your Raspberry Pi remotely. After updating the settings, click Save.
Write the Operating System to Your microSD Card
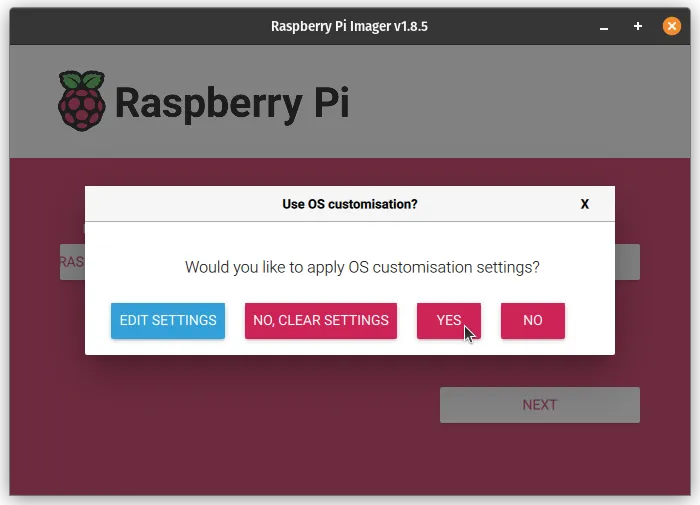
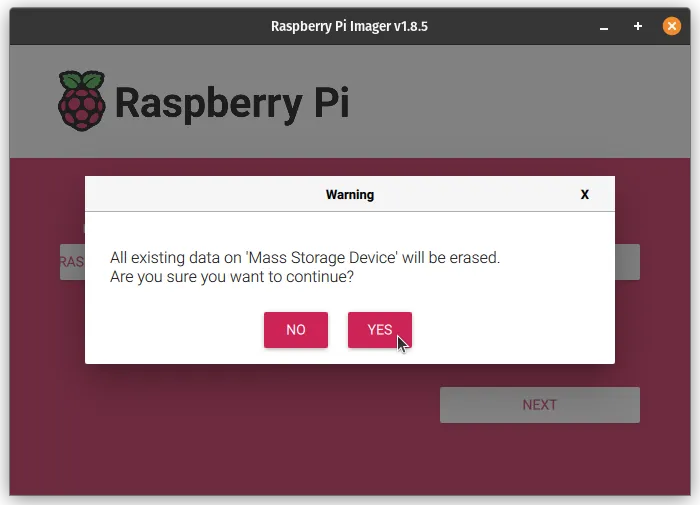
Click on Yes, and then Yes again when you're prompted to confirm that you want to write the operating system to the microSD card.
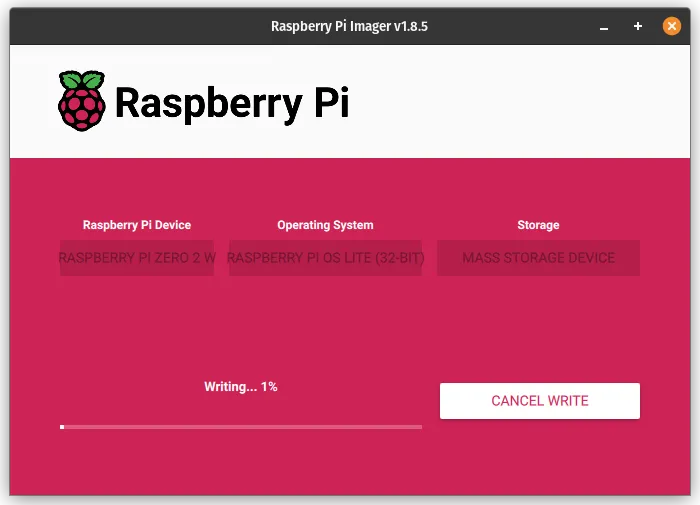
The Raspberry Pi Imager software will now write the operating system to the microSD card. Depending on the speed of your Raspberry Pi, SD card, internet connection, etc., this process can take anywhere from a few minutes to half an hour.
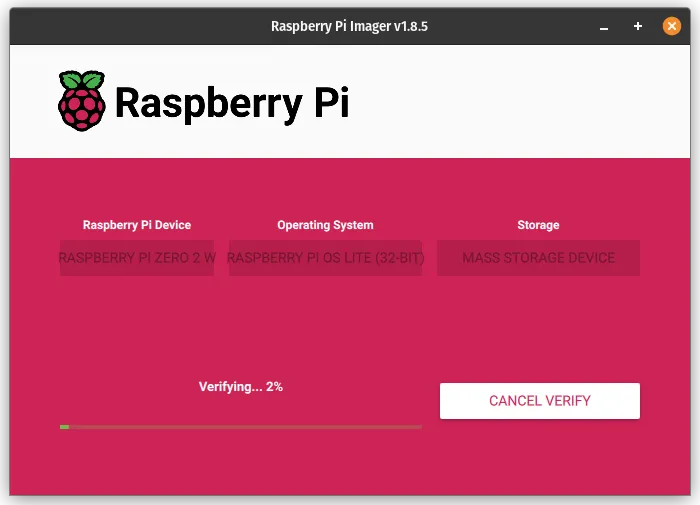
The software will then verify that writing to the microSD card was successful.
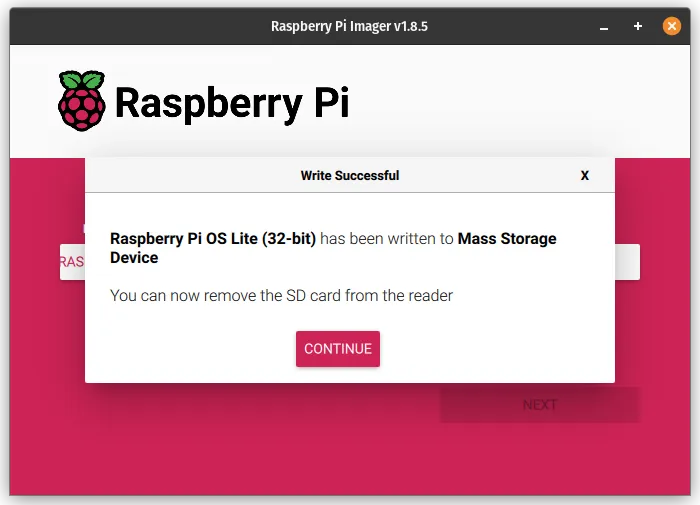
Once the verification process is complete you will be presented with a message letting you know that the operating system has been written to the microSD card. Click Continue and you can then remove your SD card from your computer.
