Checklist
Install nginx
The next thing you'll need to do is install a web server on your server so that you can host a website. There are many web servers to choose from, but for this guide, we'll be using nginx, a popular open source web server that's simple and lightweight.
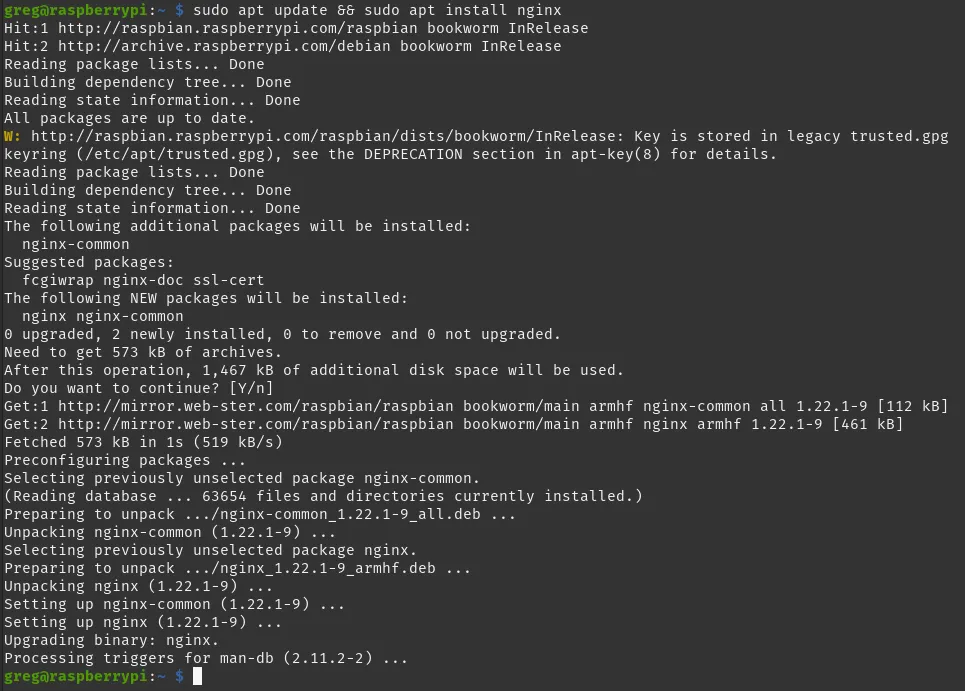
To install nginx, open a terminal window on your server and type the following command:
sudo apt update && sudo apt install nginx
That's it, nginx is now installed on your server!
Test Your Web Server
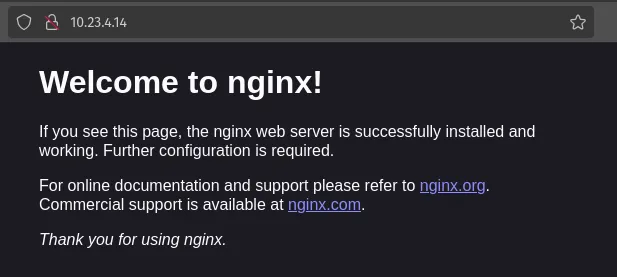
Now that you have a web server installed, it's time to make sure it's working properly. Open a web browser on your local computer and type your server's IP address into the address bar.
If everything's working properly, you should see the default nginx welcome page.

