Checklist
Login to Your Router
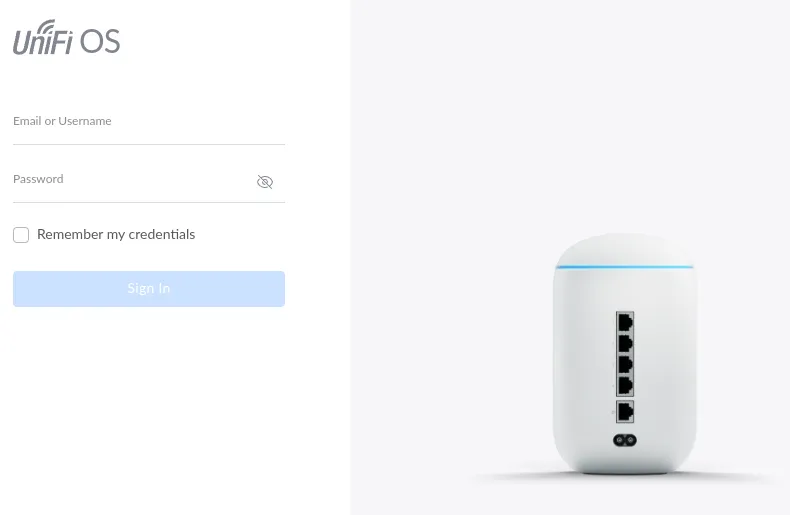
To get your Raspberry Pi's IP address, you'll need to log in to your router, which can be done by typing the router's IP address into a web browser. Common router IP addresses include 192.168.0.1 and 192.168.1.1. If neither of these IP addresses work, you may be able to find the IP address in your router's manual or on a sticker on the router itself.
Find Your IP Address
After logging in, you'll need to find the area of your router that lists all connected devices. This area may be called Connected Devices, Device List, or something similar. Once you've found the list of connected devices, sort it by uptime so that you can easily view devices that have recently connected.
If your Raspberry Pi has booted properly, the device at the top of this list, which will be called raspberrypi or something similar, will be your Raspberry Pi. The IP address of your Raspberry Pi will be listed next to the device name.
In this case, our new IP address is 10.23.4.14.
Login to Your Raspberry Pi
Now that you have your Raspberry Pi's IP address, you can use it to log in to your Raspberry Pi. Open a terminal window on your computer and type the following command, replacing 10.23.4.14 with your Raspberry Pi's IP address and greg with the username you entered in the Raspberry Pi Imager during the installation process.
ssh greg@10.23.4.14
If everything goes smoothly, you should see something similar to this:


